If you look back on one of my earlier posts on CEPH you can see it did not go so well. I didn’t really understand how it functioned in Proxmox. I knew it was a distributed storage and allowed for High Availability across the cluster but wasn’t certain on the install process. After a bit of research I discovered CEPH is in fact very greedy of it’s storage host. So in order to proceed on this quest for knowledge an investment had to be made… and not just time.
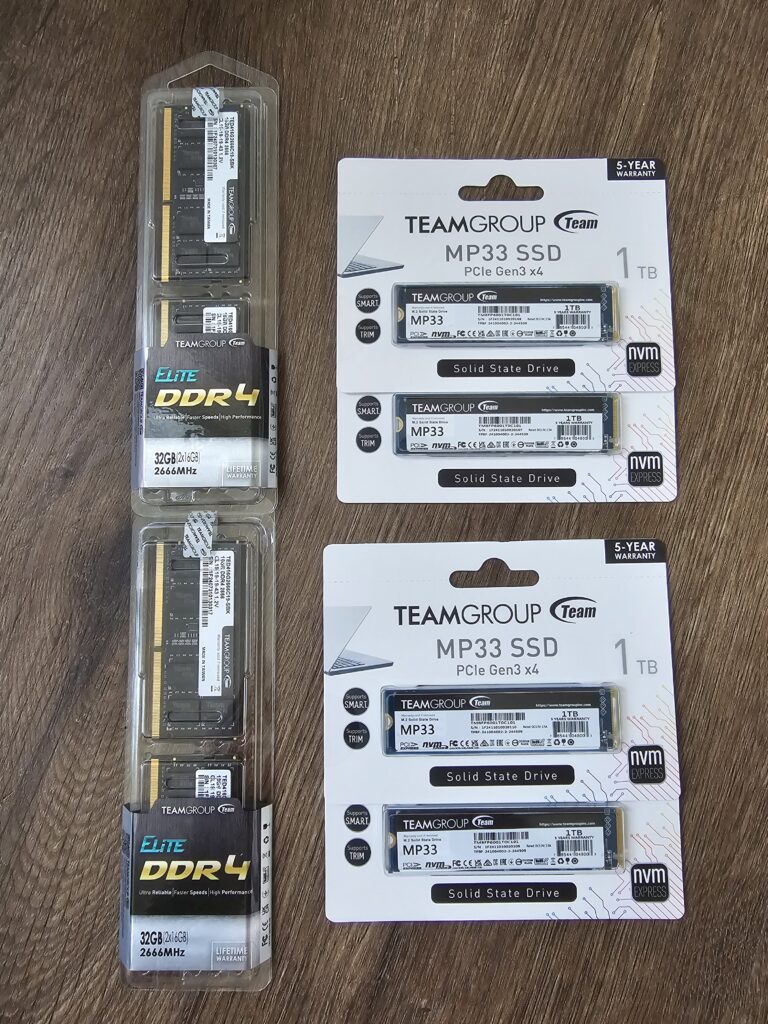
The TeamGroup MP33 SSD have a rating of 600TDW. Most recommend enterprise drives for CEPH, but these will be fine for my homelab.
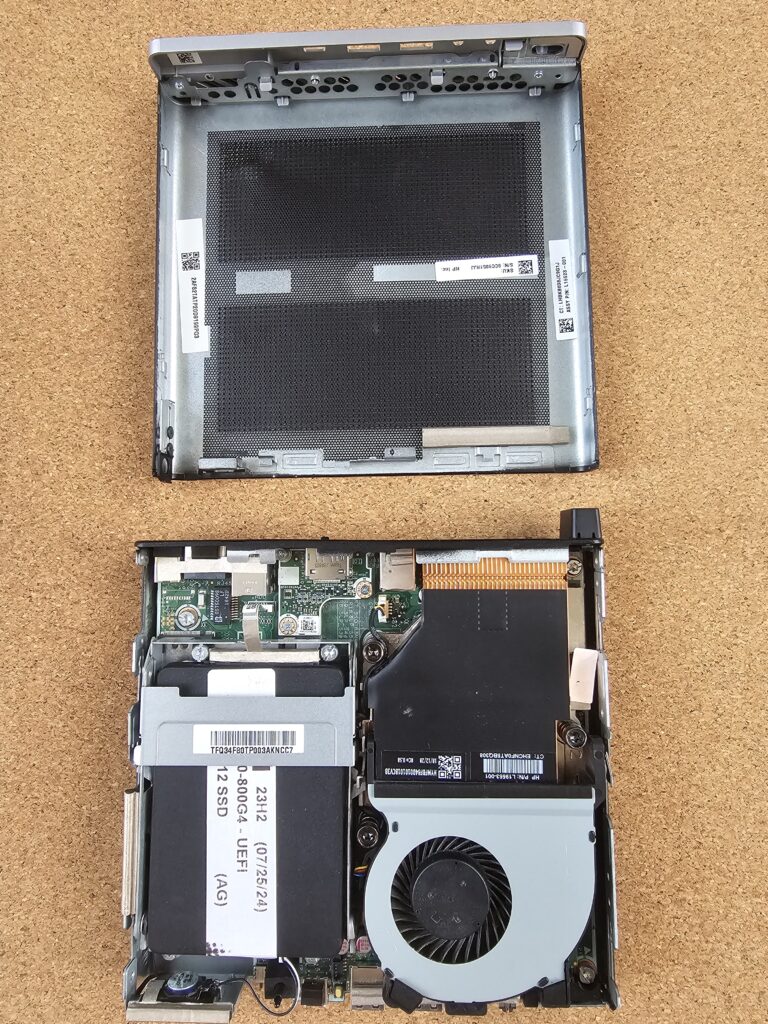
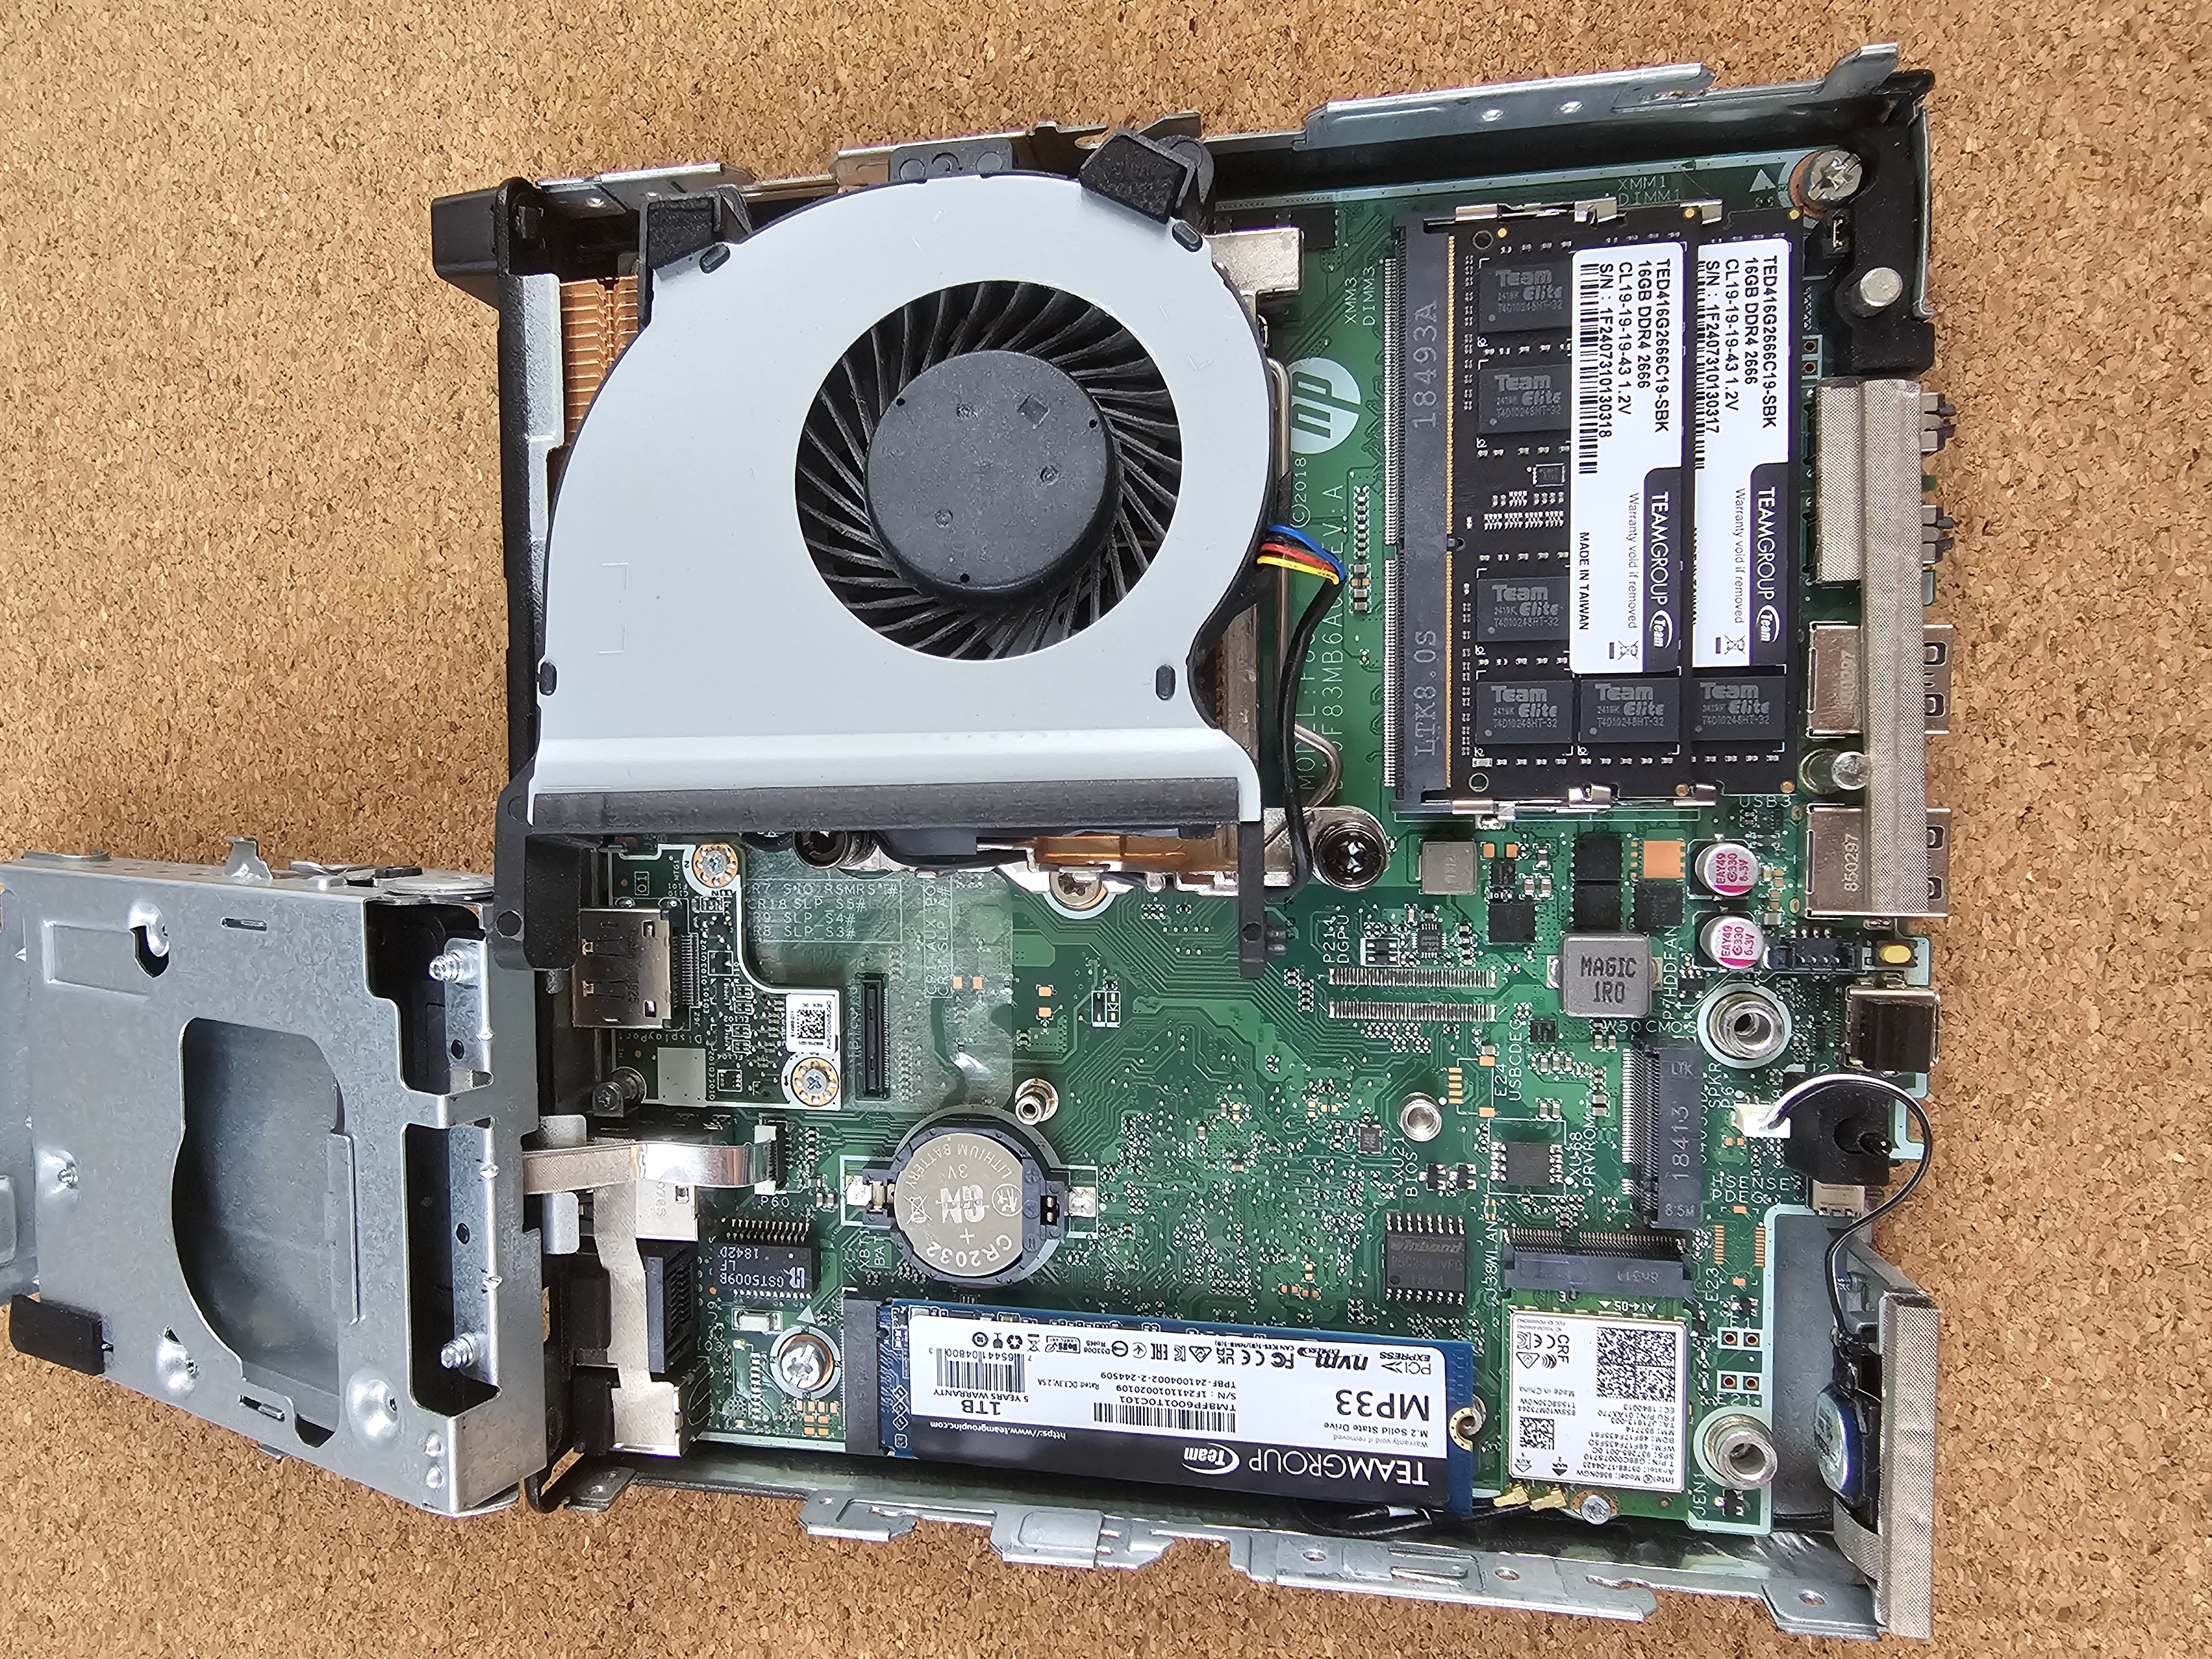
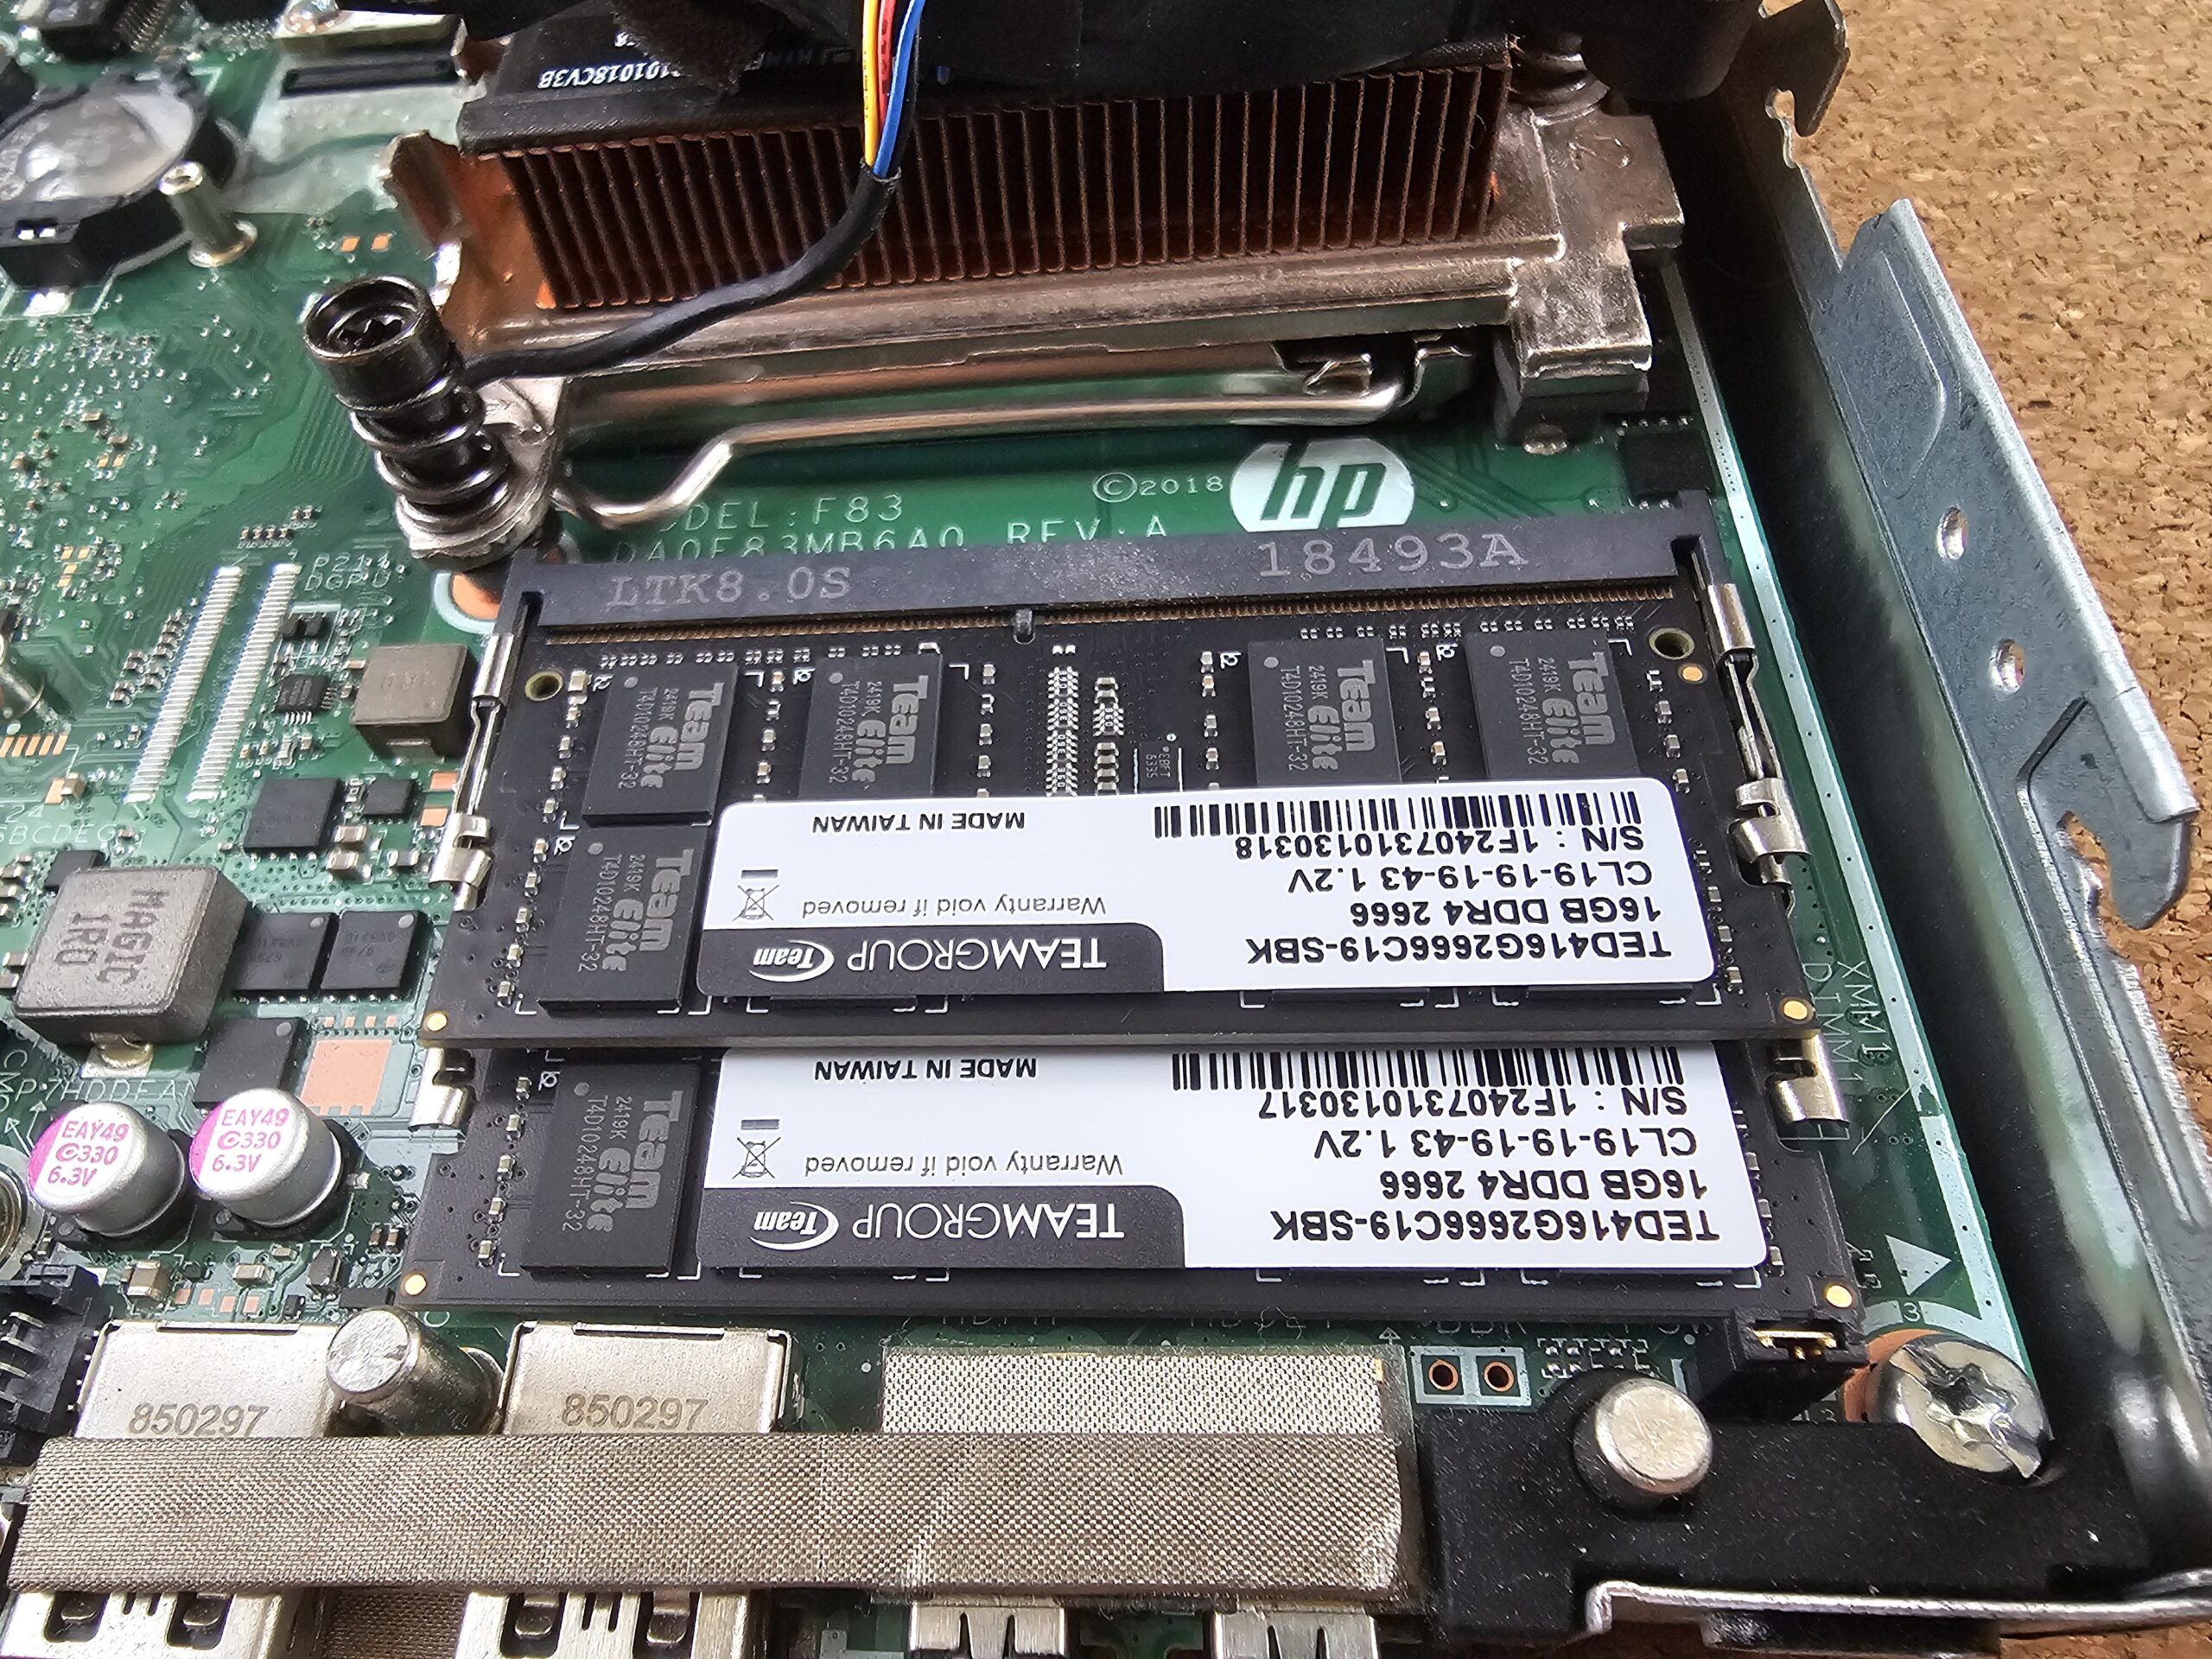
I got lucky on the EliteDesks I purchased. Two had Crucial 16TB sticks and two had another off brand. So I was able to match up brands in each – and got away with only buying to packs of Team Group RAM. Upgrades were complete! 32GB of RAM per node. My Windows Server will be so happy!
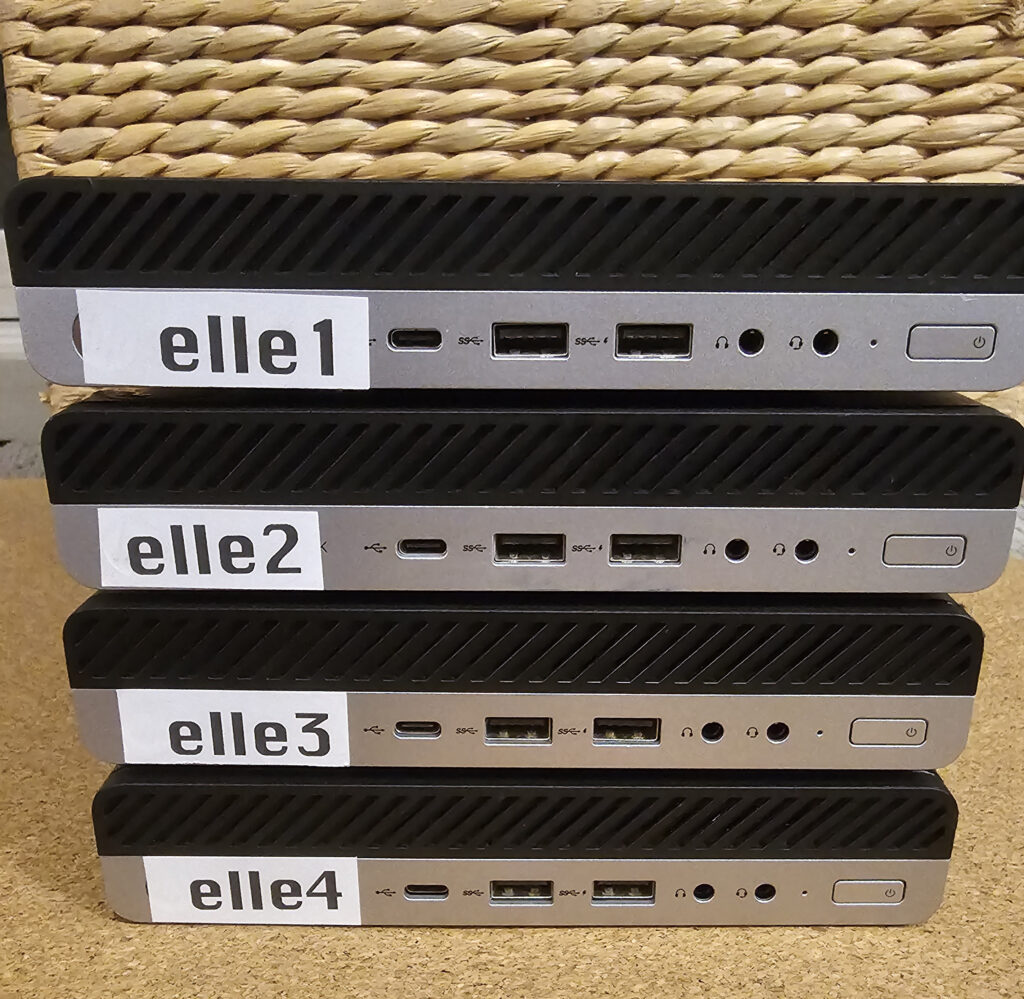
Each seemed to require and initial boot and then a reset to adjust to the new hardware. But then each came up without issue on Proxmox.
CEPH Install
Going back in to the CEPH menu on each node – three Monitors were selected and one Manager. (I need to look into the Metadata Server function still)

Then each node had to have an OSD set up on it. Additionally you should read up on bluestore. It’s the OSD Type used by CEPH to read/write raw data to the drives.

After that we create a Ceph Pool in Proxmox. By default pools have a replication factor of 3 and are created using the cluster’s pre-defined CRUSH rule.

Initially after setting everything up CEPH did not recognize the full capacity of the drives. But over a short period of time it change from a little over 1TB to 3.73TB, I believe this was due to the autoscaler – still more than I expected to have overall. CEPH takes up a good chunk of available space for replication.

CEPH is good to go! So what does it do? Well, like I said – it’s distributed storage. 😀

If you didn’t notice already. The CEPH pool we created above is listed under each node. And is selectable as storage for LXCs and VMs in the Proxmox cluster. We still have a few more steps.
LXC/VM configuration
So for any LXCs or VMs already installed you can simply “Move Storage” under “Disk Action” This the benefit (CEPH and high availability) in a cluster environment – utilizing the CEPH pool as a distributed storage for all the containers and VMs. This allows them to migrate across the cluster in case a host node goes down.

A little patience after processing the move. Some VMs can take 3-5 minutes to move from local storage to the CEPH pool. (For all newly created VM/LXCs you can select the CEPH storage initially upon setup)

You can then check under your Datacenter and see all the newly consumed space on your CEPH pool.

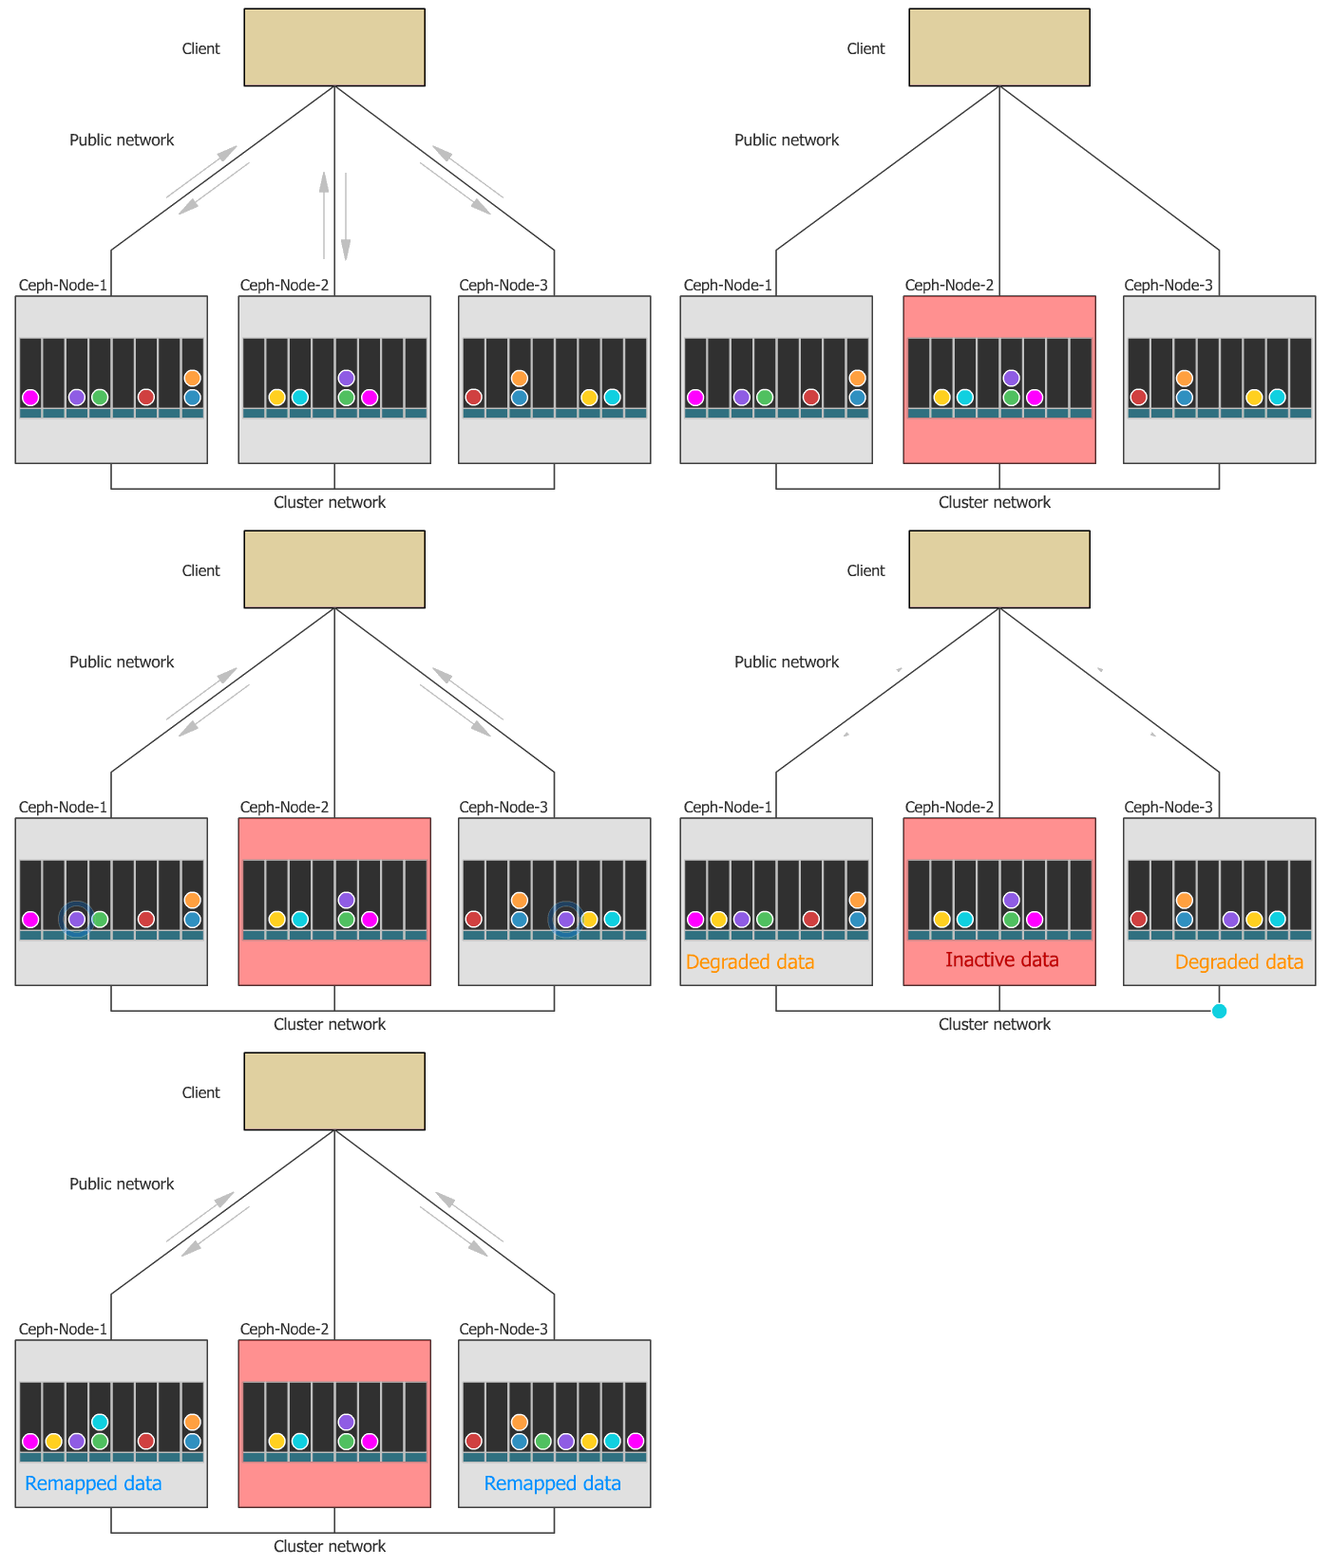
There is a lot of incredible animated pictures here at habr.com as well as a solid article on how CEPH functions in a decentralized network. The site is written in Russian (it’s a US based .com – and I ran a WHOIS – appears to be safe), so turn on your translator. The picture below is one of many excellent graphics that shows how the replicated data is rebuilt when a node is downed.
And just in case you forgot which CEPH you installed, you can run on the console of each node: (It’s also in the subscription section of the nodes repository)
ceph --versionceph version 19.2.0 (3815e3391b18c593539df6fa952c9f45c37ee4d0) squid (stable)High Availability
This step is surprisingly simple but crucial to the proper function of the cluster. Going to the Datacenter at the top of the node list – then scrolling down to HA, you will find Groups. Click create and select all the nodes in your cluster and check the nofailback box.

The nofailback options is mostly useful to avoid unwanted resource movements during administration tasks. For example, if you need to migrate a service to a node which doesn’t have the highest priority in the group, you need to tell the HA manager not to instantly move this service back by setting the nofailback option.
If you read through the documentation this avoids any chaos of LXC/VMs migrating around in mass after recovery from a failure. Last step is to add any resources you wish to be maintained in a high availability state. You can see below I have added a few LXCs; Wallabag, Homepage and Radarr. (two of those I haven’t wrote about yet, check em out!)

And now you should be up and configured with CEPH and High Availability on your cluster.
Testing High Availability
Since my rack is accessible, I chose to pull the cable out of node3, which is running a Radarr LXC. After a few minutes you will see Proxmox begin to ramp up a copy of the LXC in the Tasks log at the bottom. It then sends the LXC to another node assigned to the high availability group in the cluster.
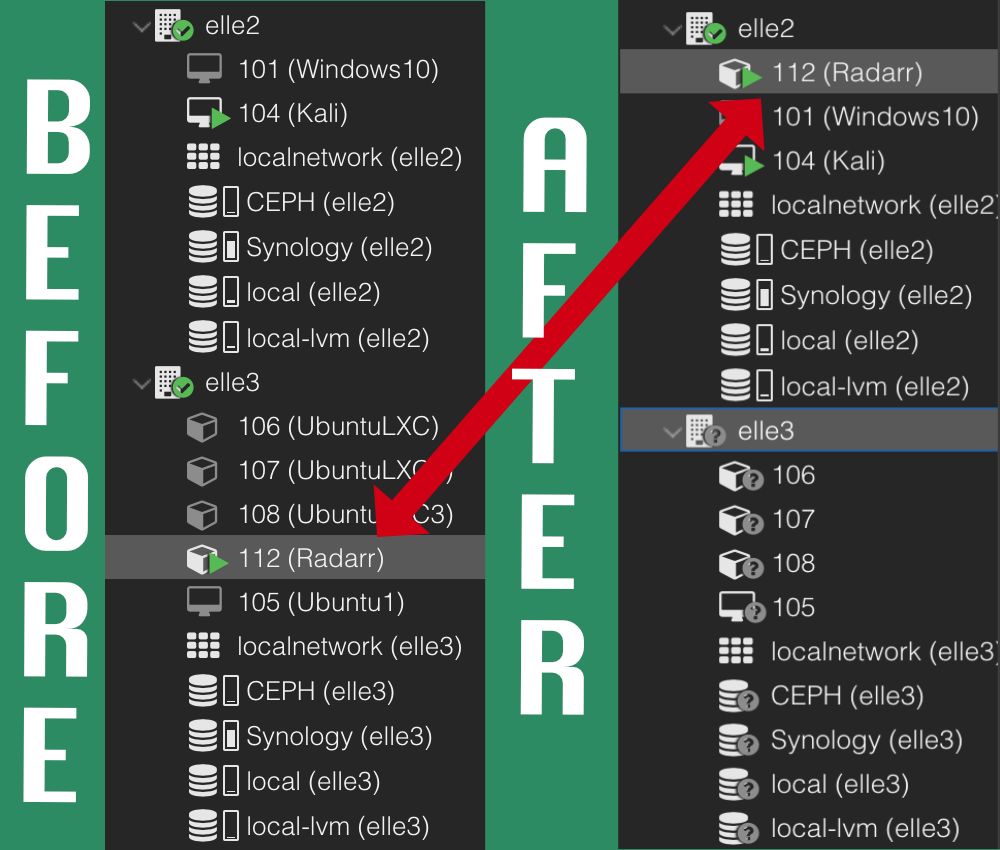
So as you can see CEPH and high availability are functioning well. Performance is not miserable but no were near what you would expect for a production environment. Can you imagine how this would run with a high-end cluster, 10GBPS backplane and proper aggregation switches. A couple minutes down to seconds? I’m really curious about that now. Time for more research!
Leave a Reply